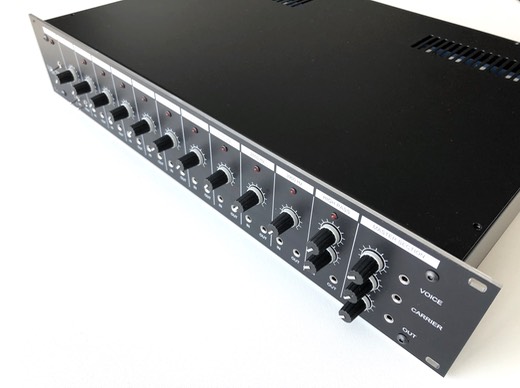
Preparation of the 19” front panel
Estimated building time: 6,0 hours.
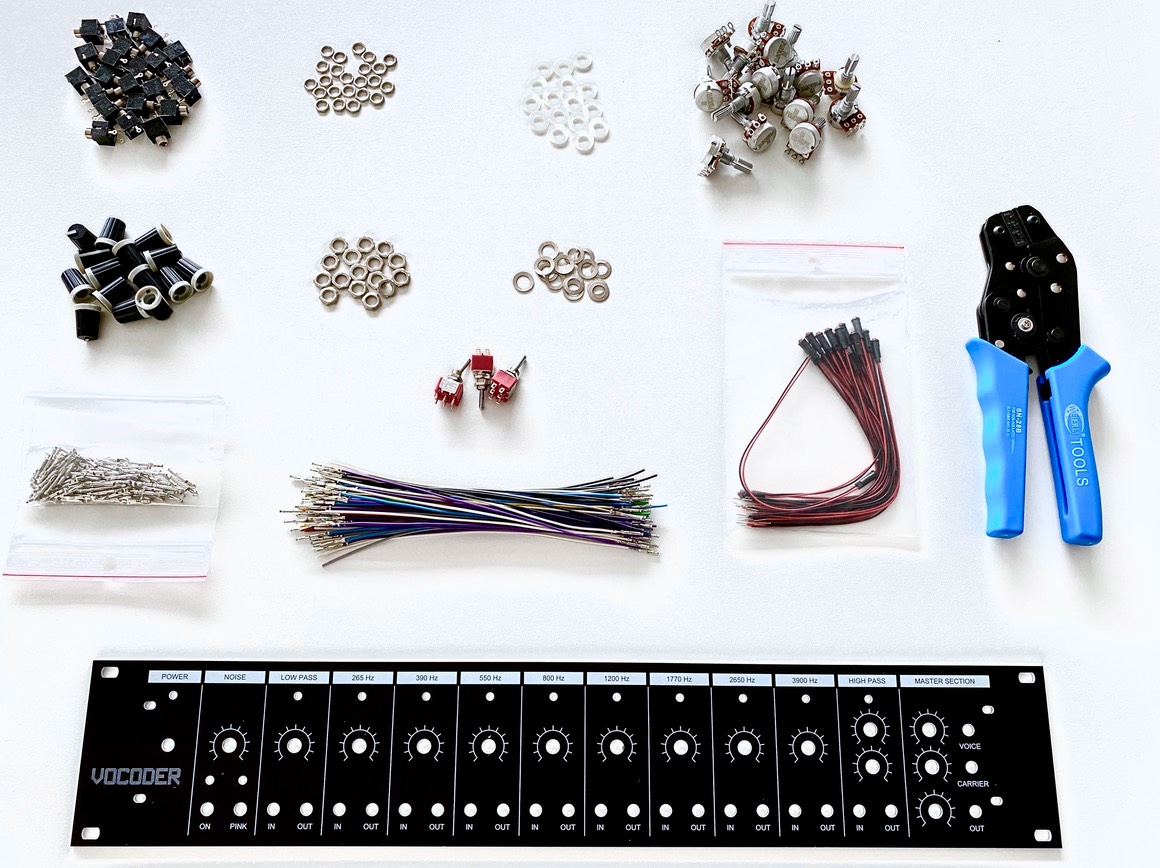
Sort all required components as indicated in the BOM:
Pin wiring options
There are various options to install the cabling between the frontpanel and the circuit board.
If you do not want to make the panel detachable, just solder the wires to the pins and isolate them with shrink tube. This option is not recommendable as you lose all flexibility with further expansions and/or trouble shooting.
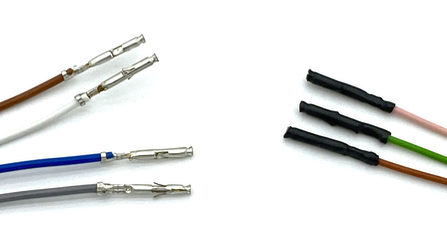
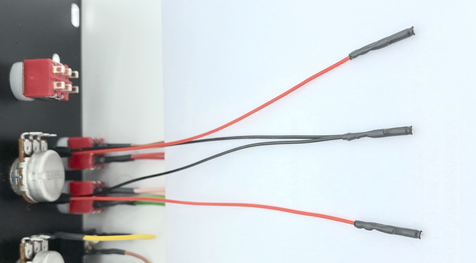
A much better alternative is to make use of 1 mm solder lugs, after soldering the wires also isolate them with a short piece of shrink tube:
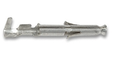
If you want a really professional solution and you own a Molex or compatible crimper, definitely go for crimp contacts, that is the best, fastest and easiest solution. Therefore these crimp connectors are included in the BOM:
Mechanical preparation
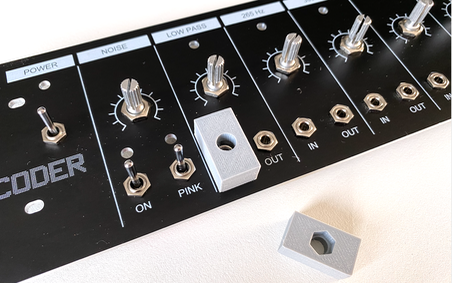
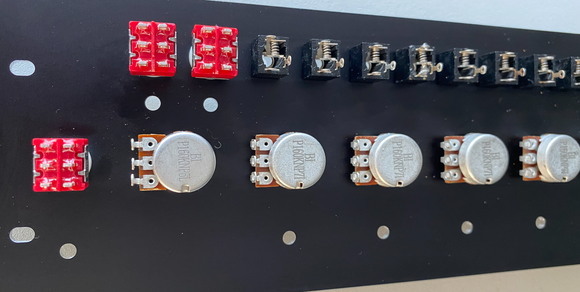
Position all switches, jacks and potentiometers in the right place and finger-tighten the hex nuts.
To get the switches in the perfect position you have to add 3 nylon washers between the front panel and each switch. To get the potentiometers flush in the front panel you have to add 1 nylon washer. And finally the jacks must be installed without any washer.
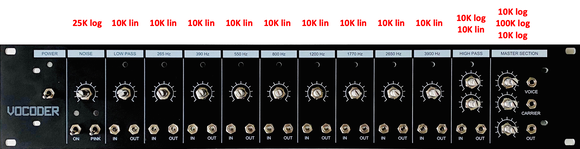
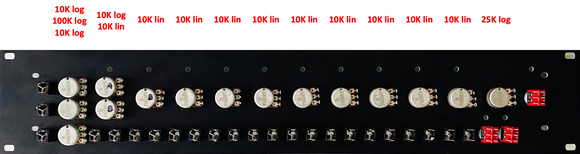
Pay attention to the correct position of the potentiometers. Don’t mix the logarithmic and the linear potentiometers, they look the same but have a different behaviour.
Front side view:
Back side view:
Align all components so that everything is in a nice straight line and fasten the hex nuts. Never use steel pliers or keys to tighten the hex nuts (jacks, potentiometers and switches). The anodised panel will be damaged in all probability.
If you can use a 3D printer somewhere, use this hex fastener tool to facilitate tightening the hex nuts (8 mm and 10 mm). The hex fastener tool can be downloaded here.
Now press-fit all LEDs in the designated postions. If burrs occur, remove the specific LED, clean the excess plastic leftovers and refit:
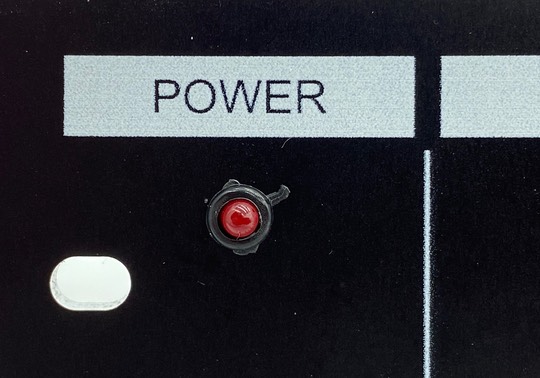
Finally check that all components are nicely aligned and correct position if necessary:
Electrical wiring
To connect the front panel to the electronics, some cabling is required. In this build example Liycy cable was used, which was stripped and cutted to be able to use the individual wires.
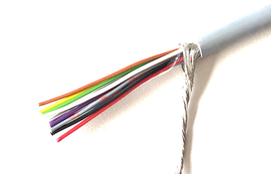
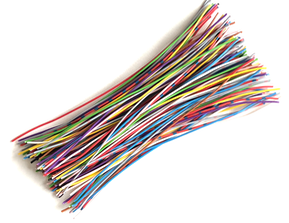
Cut the individual wires into lengths of approximately 20 cm:
Install the 1 mm connectors on one side, preferably use a crimping tool to achieve this and finish the assembly with heat shrink:
Make use of different colors, assembly afterwards is much easier. The correct number of cables and an example of color choice can be found in the wiring instructions. Download the wiring instructions here.
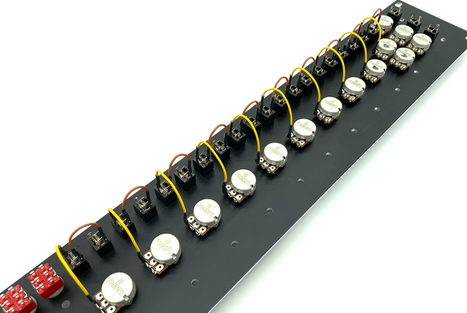
Now wire the front panel step by step, follow the wiring instruction carefully and use the photos below as guideline. This is a bit of a boring job, but if you do it meticulously and cleanly, the pleasure afterwards is twice as great.
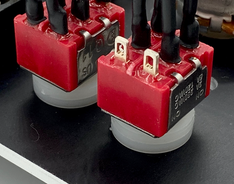
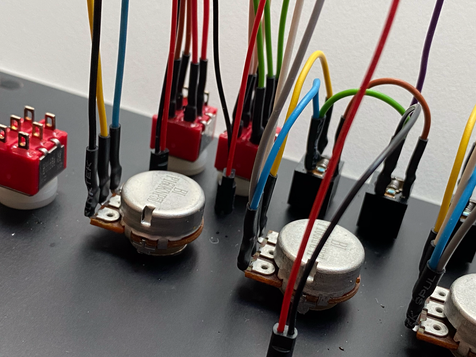
Easy at first, connect all wire bridges (ground connections between jacks and potentiometers) for all 10 filters. Do this for each filter separately and avoid ground loops:
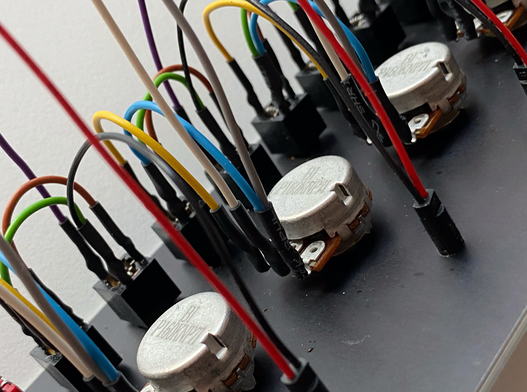
And then it becomes more complex, wire all potentiometers and LEDs for all 10 filters. Do not deviate from the wiring instructions. Cabling color choice is of course at your own discretion but be consistent:
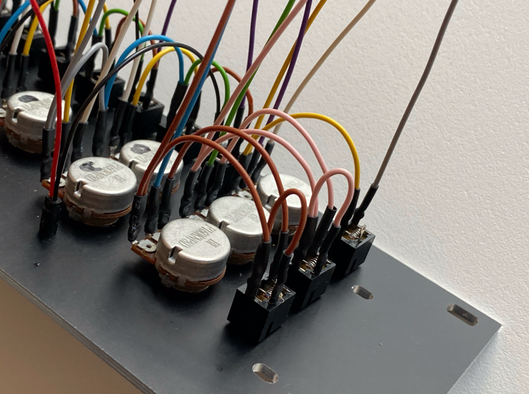
Now do the same for the input/output interface and again do not deviate from the wiring instructions to avoid ground loops:
That was the hard part, the swithes for the sibilance expansion are easy:
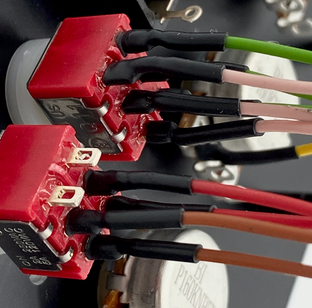
Pay attention here, the ground of the sibilance LEDs is common:
And finally wire the sibilance potentiometer:
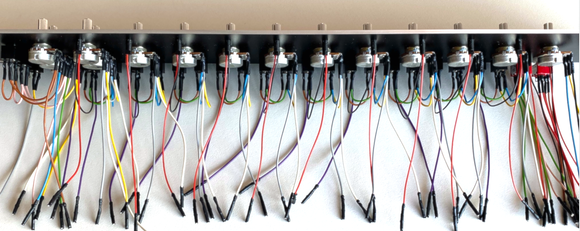
Now your frontpanel looks like this and is ready to be installed:
Well done
You have finished this section, so click here to navigate back to the assembly & adjustment instructions.